Written by Hollie Finders, RN
Hollie Finders is a registered nurse with years of experience working in the health care field. She has degrees in both biochemistry and nursing. After working with patients of all ages, Hollie now specializes in pediatric intensive care nursing. Hollie’s LinkedIn
Procedure
Equipment needed: restraints.
- Attempt restraint alternatives.
- Check with the nurse to ensure use of restraints is necessary in this situation, and that an order for the restraints is being obtained.
- Perform hand hygiene.
- Explain the procedure to the patient.
- Obtain and apply the restraint (see below for specific procedures).
- Perform hand hygiene.
- Document the procedure in the patient’s chart and report any changes in the patient’s condition to the nurse.
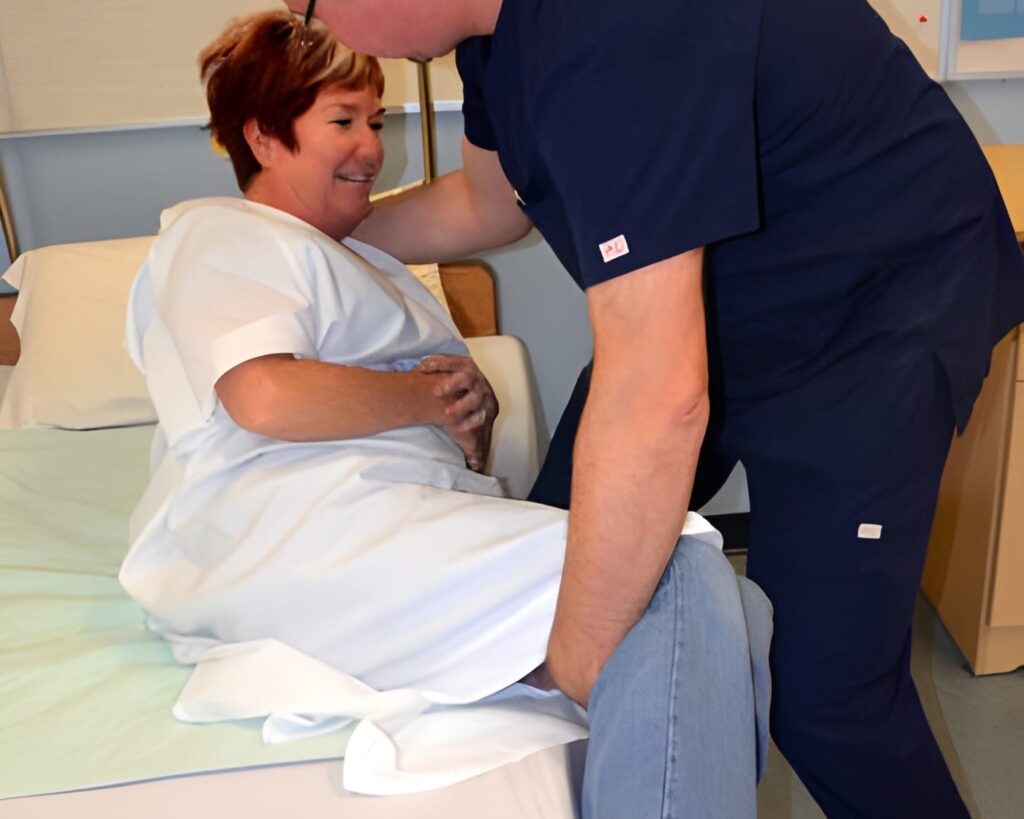
Safety Belt Restraint
- Apply the belt over the patient’s clothing at the waist.
- Cross the ties around the back of the patient and slip the ties through the corresponding loops on each side.
- If the patient is sitting in a chair, correctly fasten the belt using a slipknot around the back of the chair.
- If the patient is in bed, tie the restraints to the bed frame on the corresponding side of the bed or stretcher using a slipknot.
- Ensure one finger can fit between the patient and the belt.
Vest Restraint
- Slip the vest on the patient over his or her clothes. Follow the manufacturer’s protocol to determine if the opening of the vest goes in the front or the back.
- Cross the restraint ties by pulling one tie through the slit on the opposite side of the vest.
- Tie the restraint around the back of the chair using a slipknot, or tie the restraints to the bed frame on the corresponding side of the bed or stretcher using a slipknot.
- Ensure the restraint is not too tight and that the patient’s breathing is not restricted.
Mitt Restraint
- Place hand into restraint.
- Secure the mitt at the wrist.
- Ensure fingers have range of motion and that the restraint is not too tight.
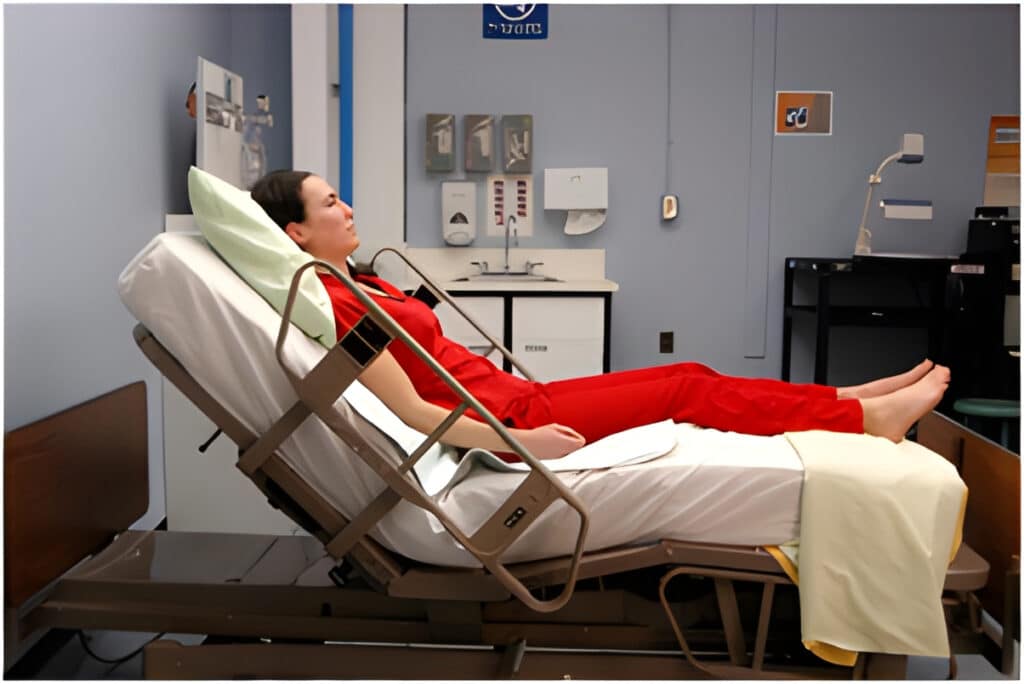
Wrist/Ankle Restraint
- Apply padded restraint to wrist or ankle.
- Ensure two fingers can fit between the restraint and the patient.
- Fasten the straps through the loops on the restraint.
- Secure restraint ties to the bed frame using a slipknot.
Important Information
Restraints have very strict guidelines for use due to the number of complications that can result. Use of restraints is associated with increased physical and psychosocial health issues [1]. Restraints are only considered necessary when restraint-free alternatives have failed and the patient or others are at risk of harm without the restraints [1]. It is illegal to use restraints for the staff’s convenience or to punish the patient [2].
Always follow the facility’s policy when using restraints. Nurses are responsible for assessing and monitoring a patient in restraints; however, the nurse may ask the nurse’s aide to assist in releasing restraints and repositioning the patient. Remember to always use a quick release slipknot when securing the restraint. This allows for an easy and immediate removal of the restraint in emergencies. Also, when used in bed, be sure to tie the restraint to the bed frame and never to a bed’s side rail.
References
1. https://www.ncbi.nlm.nih.gov/pmc/articles/PMC2564468/
2. https://www.medicare.gov/what-medicare-covers/part-a/rights-in-snf.html